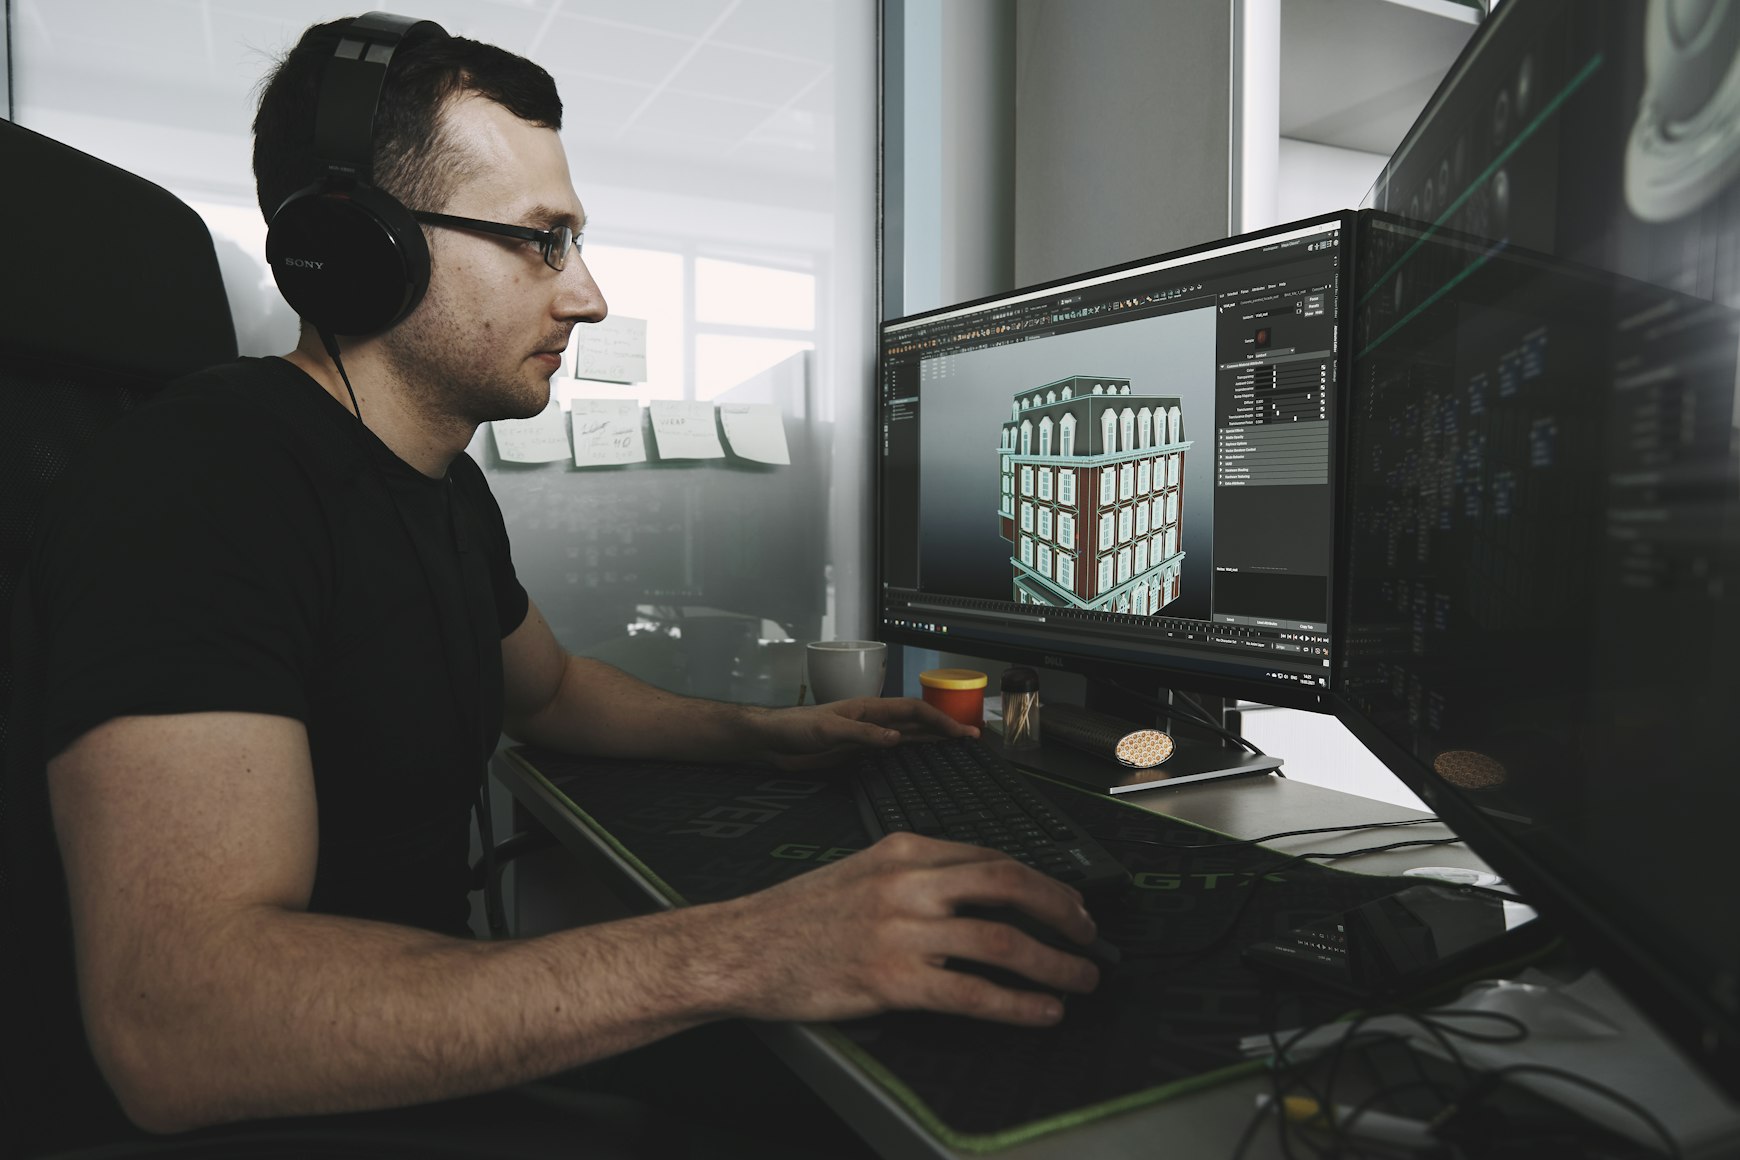
Blender is a powerful, open-source 3D modeling software that is widely used in the creative industry. Whether you're a complete beginner or looking to improve your skills, this guide will help you get started with Blender and explore the basics of 3D modeling.
1. Download and Install Blender
First, visit the Blender website at blender.org and download the latest version of the software. Once downloaded, follow the installation instructions to set up Blender on your computer.
2. Familiarize Yourself with the Interface
Upon launching Blender, you'll be greeted by its interface, which may seem overwhelming at first. Take a moment to familiarize yourself with the layout and various panels, including the 3D viewport, timeline, properties editor, and outliner. Navigating the interface efficiently is essential to your success with Blender.
3. Learn Basic Navigation and Manipulation
Before diving into 3D modeling, it's crucial to learn how to navigate and manipulate objects within the 3D viewport. Practice using the middle mouse button to orbit the view, the scroll wheel to zoom in and out, and the Shift + middle mouse button to pan the view. To select, move, rotate, and scale objects, use the corresponding tools in the toolbar or learn their hotkeys (G for move, R for rotate, and S for scale).
4. Explore Blender's Primitive Objects
Blender offers a variety of primitive objects to help you get started with modeling. To add a primitive object to your scene, press Shift + A and select the desired object from the menu. Experiment with adding and manipulating different primitive objects, such as cubes, spheres, and cylinders, to gain a better understanding of Blender's modeling capabilities.
5. Discover Blender's Modeling Tools
Blender boasts an extensive array of modeling tools to help you create complex and detailed models. Some essential tools to explore include the Extrude tool (E), Loop Cut (Ctrl + R), and Bevel (Ctrl + B). Practice using these tools on your primitive objects to gain confidence in your modeling abilities.
6. Learn the Basics of Materials and Texturing
To bring your 3D models to life, you'll need to learn how to apply materials and textures. In Blender, this is done using the Shader Editor and the node-based material system. Begin by experimenting with basic materials, such as diffuse colors and glossy shaders, and then move on to more advanced topics like UV mapping and texture painting.
7. Render Your First 3D Model
Once you've created your first 3D model and applied materials, it's time to render your masterpiece. In Blender, rendering is done using the Render Properties panel and the built-in rendering engines, Eevee and Cycles. Set up your camera and lighting, then adjust the render settings to your preferences. Finally, press the "Render" button to generate a 2D image or animation of your 3D model.
8. Expand Your Knowledge with Tutorials and Community Resources
Blender has a vast and active community that offers a wealth of tutorials, resources, and forums to help you improve your skills. As you become more comfortable with the software, explore these resources to learn advanced techniques, troubleshoot issues, and gain inspiration for your projects.
Conclusion
Getting started with Blender and 3D modeling can be a rewarding and enjoyable experience. By familiarizing yourself with the interface, mastering basic navigation and manipulation, and exploring Blender's modeling tools and features, you'll be well on your way to creating stunning 3D models. Remember that practice makes perfect, and don't be afraid to seek out tutorials and community resources to continue your Blender journey.


