
Edit online
Make it in your browser, free
Type your text, download the video. No app needed.
On this page · 11 sections
- 1. Scenes and sources in 30 seconds
- 2. Step 1: set your canvas size
- 3. Step 2: create a scene
- 4. Step 3: add the overlay
- 5. Step 4: add your webcam
- 6. Step 5: lock it
- 7. Step 6: build your other scenes
- 8. Troubleshooting
- 9. Keep OBS running smoothly
- 10. A starting soon screen that works
- 11. Design tips
A stream overlay makes a stream look finished: a frame around your webcam, your socials on screen, alerts when someone follows and a proper "starting soon" screen. In OBS Studio you build all of this from scenes and sources. This guide shows how to add an overlay in OBS step by step, and how to avoid the classic mistakes like black backgrounds and overlays hiding behind your camera.
Scenes and sources in 30 seconds
- Scenes are complete layouts you switch between, for example Starting soon, Gameplay and Be right back.
- Sources are the building blocks inside a scene: your game capture, webcam, images, videos and browser elements.
- Order matters: the source at the top of the list is drawn on top of everything below it.
Step 1: set your canvas size
Open Settings → Video and set the base (canvas) resolution, usually 1920×1080. Overlays are designed for a specific size, so match your canvas to the overlay to avoid stretching.
Step 2: create a scene
In the Scenes dock, click + and name it, for example Gameplay. Add your main content first: a Game Capture, Window Capture or Display Capture source.
Step 3: add the overlay
Which source you use depends on the overlay file:
| Overlay type | OBS source |
|---|---|
| Static PNG (frame, socials bar) | Image |
| Animated overlay (WebM with transparency) | Media Source, with loop enabled |
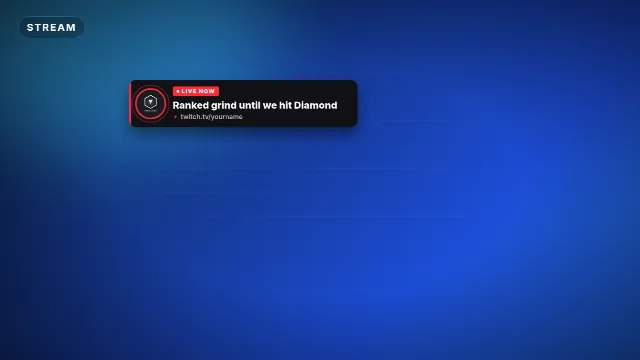
| Alerts and widgets from an alert service | Browser source with the widget URL |
Click + in the Sources dock, pick the type, select your file and press OK. Resize it to fill the canvas if it is a full screen overlay. Right click a source and use Transform → Fit to screen for a quick fit.
Stream overlays on Velosofy
 00:44
5 FREE Stream Stinger Transitions for OBS studio and Streamlabs OBS | w/ Sound Fx
 01:18
5 min Live Stream Starting Soon Screen - No copyright [Fully Animated & Free]
 08:35
4 FREE! Custom Stinger Transition After Effects Template with your LOGO (Salient Ed.)
 01:01
Apex Stream Graphics Pack | Free PSD | Overlay | Webcam | Banners
Step 4: add your webcam
Add a Video Capture Device source for your webcam. Then put it in the right place in the list:
- If your overlay has a webcam frame, the webcam goes below the overlay in the list, so the frame is drawn over the edges of your camera.
- Resize and position the webcam so it sits exactly inside the frame. Holding Alt (Option on Mac) while dragging the edges crops the source.
Step 5: lock it
Click the lock icon next to the overlay and webcam once everything lines up, so you do not move them by accident during a stream.
Step 6: build your other scenes
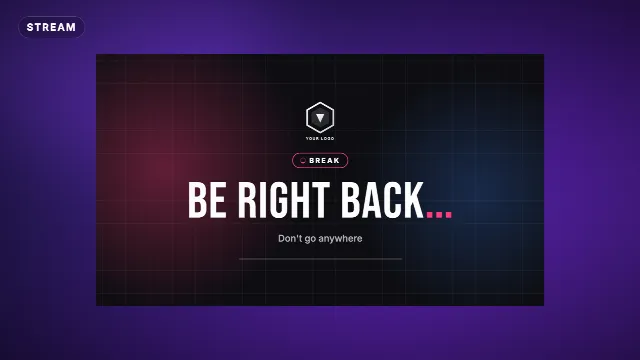
Duplicate the scene for Be right back and Ending, and make a separate Starting soon scene with a looping animated background. Scene switches are smoother with a stinger transition, you can find animated transitions on Velosofy.
Troubleshooting
- Black or white box instead of transparency: the file has no alpha channel. Use PNG or WebM with transparency.
- Overlay looks blurry: the canvas size and overlay size do not match. Check Settings → Video.
- Animation stops: enable Loop in the Media Source properties.
- Alerts do not show: test the browser source URL in a normal browser first, then check that the source is visible and on top.
Keep OBS running smoothly
- Prefer static images where possible, animated overlays and browser sources use more resources.
- One alert source is enough, stacking several browser widgets slows OBS down.
- Check the stats dock during a test stream for dropped frames before you go live.
- Hide unused sources in a scene instead of keeping them visible underneath other layers.
A starting soon screen that works
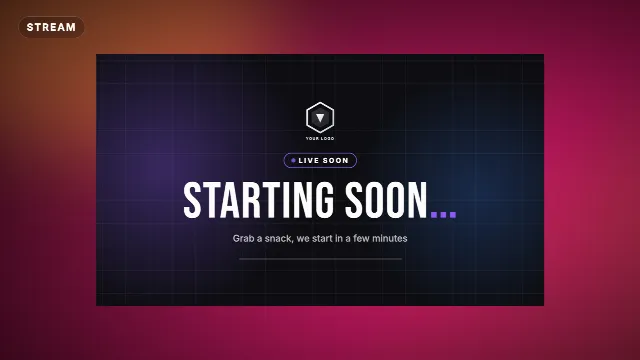
Your starting soon scene is what early viewers see while you get ready. A looping animated background, your logo, a short message and music you are allowed to stream are enough. Use the same design for Be right back and Ending, so the whole stream looks like one package.
Design tips
- Leave room for the game: big frames hide the UI of the game you are playing.
- Keep it consistent: use the same colors and fonts as your channel banner.
- Make highlights reusable: an intro for your VODs and clips helps too, see the best free intro templates.
Browse all stream overlays, gaming templates and templates for OBS Studio.
Frequently asked questions
Edit online
Free stream overlays
Free with a free account, in 16:9, 9:16 or 1:1.
Overlays, webcam frames and starting soon screens for OBS Studio.
Browse stream overlays