
Edit online
Make it in your browser, free
Type your text, download the video. No app needed.
On this page · 8 sections
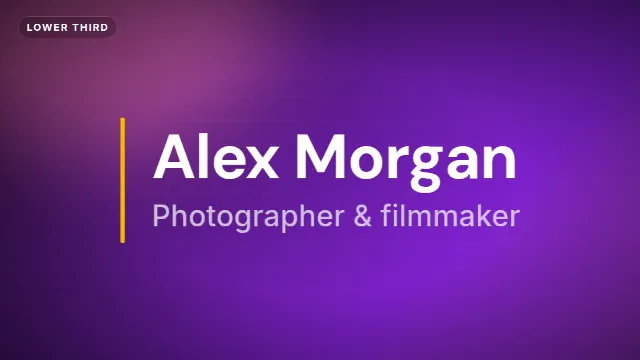
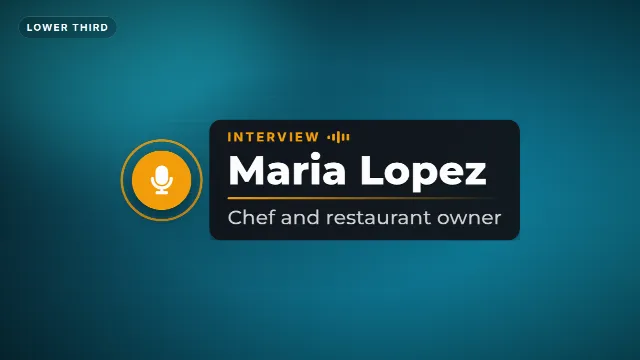
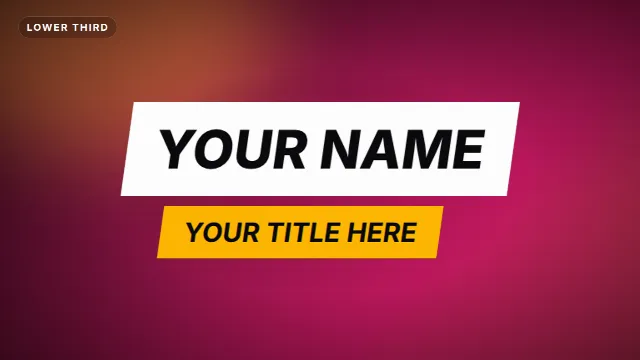
A lower third is the name bar that appears when someone starts talking: a name, a role, sometimes a logo or handle. It makes interviews, podcasts, tutorials and vlogs look produced. You do not need After Effects to make one. This guide covers a free way to make a lower third with your own text, how to add it in Premiere Pro, DaVinci Resolve and CapCut, and the design rules that make it easy to read.
What goes in a lower third
- Name: the main line, larger and bolder.
- Title or role: a smaller second line, for example "Host", "Product designer" or "Guest, episode 42".
- Optional extras: a handle, a small logo or a colored accent that matches your brand.
Two lines is the sweet spot. Everything you add on top makes it slower to read.
Make one in the browser
On Edit online you can customize free lower thirds without installing anything. Open a template, type the name and title, and the live preview updates as you type. You can change:
- Text: the name and title lines.
- Colors: the accent color, the text color and, on some templates, the background color.
- Font: pick from 38 fonts, from clean sans serifs to bold display faces.
- Speed: make the animation faster or slower.
- Size: 16:9 landscape, 9:16 vertical or 1:1 square.
Click to create your video. It renders on our server in under a minute, and with a free account you download a zip
with a transparent -alpha.mov and a -greenscreen.mp4. Both are free for personal and
commercial videos.
Which style fits your video
| Video | Try |
|---|---|
| Interviews and company videos | Corporate Lower Third |
| Vlogs and tutorials | Minimal Clean or Line Reveal |
| Podcasts | Podcast Guest Lower Third |
| Gaming and esports | Gaming Lower Third |
| News style updates | Breaking News Ticker |
| Bold brand colors | Accent Bar or Stacked Boxes |
| Night or music content | Neon Sign Lower Third |
Lower thirds on Velosofy


Add it in Premiere Pro
- Unzip the download and import the
-alpha.mov. - Drag it onto V2, above your interview clip, where the person starts speaking.
- The background is transparent, so your footage shows through. Trim the end if you want it to leave sooner, but keep the out animation.
Add it in DaVinci Resolve
- Import the
-alpha.movinto the Media Pool. - On the Edit page, drop it on Video 2 above your footage.
- Resolve reads the alpha channel of ProRes 4444. If you see black instead of your video, right click the clip in the Media Pool, open Clip Attributes and set the alpha mode to Straight.
Add it in CapCut
- Add the
-greenscreen.mp4with Overlay → Add overlay and stretch it to fill the frame. - Tap Cutout → Chroma key, pick the green and raise Intensity until it disappears.
- Move it to the moment the speaker starts.
Edges looking green? See how to use green screen overlays in CapCut. For Final Cut Pro and more detail on alpha files, read how to use transparent video overlays.
Design rules that make it readable
Stay inside the safe area
Keep the text away from the very edges of the frame. A margin of about five to ten percent of the frame width on the sides and bottom keeps it clear of rounded phone corners, TV overscan and player controls. Check this again whenever you move or scale an overlay in your editor.
Give it enough time
A viewer should be able to read the name and title twice before it leaves. For a short name and role, around four to six seconds is a safe start. Show it when the person first speaks, not in the middle of a sentence change or a cut.
Contrast first
- Light text on a dark plate, or dark text on a light plate. A plate behind the text keeps it readable on any footage.
- Check it on the brightest and the busiest shot in your video, not only the one you designed it on.
- Use your accent color for a bar or detail, not for long text.
Pick a font for reading
Lower thirds are read in a second or two. Clean sans serif fonts with clear letter shapes work best for names. Save decorative fonts for titles. More on picking fonts in animated text titles for YouTube videos.
Be consistent
Use the same lower third style for every guest in a series. Make one, then change only the text for each person. On Edit online that means opening the same template and typing a new name.
Vertical videos
In a 9:16 video, the bottom of the screen is covered by captions and buttons on TikTok, Reels and Shorts. Choose the vertical size when you render, and place the lower third higher than you would in a landscape video. The Social Handle Bar and Live Handle Pill work well for a quick handle. See text overlays for TikTok, Reels and Shorts.
Checklist
- Name and role, nothing more
- Inside the safe area, with good contrast on every shot
- On screen long enough to read twice
- Same style for every speaker
Browse all lower thirds, templates for Premiere Pro and DaVinci Resolve, or podcast templates.
Frequently asked questions
Edit online
Make your lower third online
Free with a free account, in 16:9, 9:16 or 1:1.
Type a name and title, pick colors and a font, download a transparent video.
Edit online for free