
Edit online
Make it in your browser, free
Type your text, download the video. No app needed.
On this page · 8 sections
Most phone editors cannot read video files with a transparent background reliably. That is why so many animated overlays, subscribe buttons, lower thirds and titles come as a green screen video: the animation on a solid green background that you remove in the editor. In CapCut that tool is called Chroma key. This guide shows how to use it, how to get rid of green edges, and how the same thing works in Alight Motion and KineMaster.
Get a good green screen file
The cleaner the green, the easier the key. A good green screen overlay has:
- One flat green across the whole background, no gradient or noise. Rendered overlays are ideal for this, filmed green screens are much harder.
- No green in the design itself, or that part disappears too.
- The same frame size as your project, so it lines up when it fills the screen.
The free templates on Edit online are rendered on a pure green
background. You type your text, choose colors and a font, pick 16:9, 9:16 or 1:1, and the zip you download has a
-greenscreen.mp4 for phone apps and a transparent -alpha.mov for desktop editors. Because
you choose the colors yourself, you can keep green out of the design.
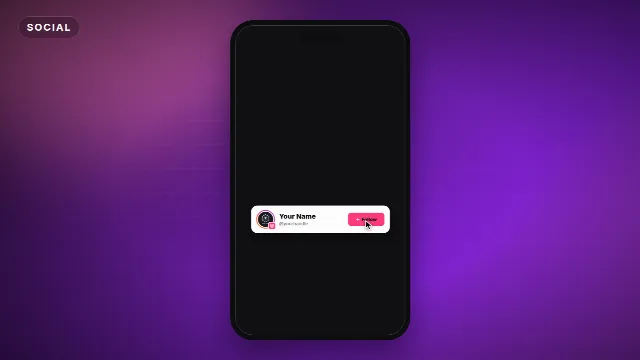
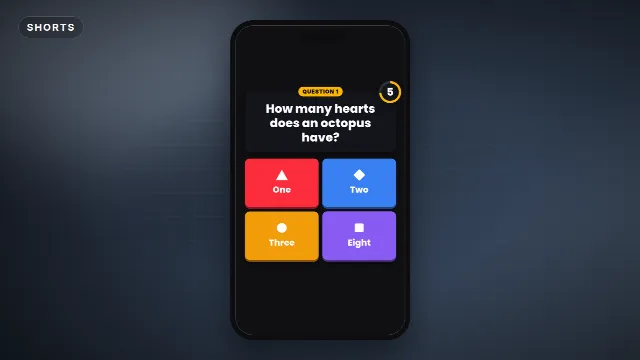
Vertical templates for CapCut
Chroma key in CapCut on your phone
- Open your project and move the playhead to where the overlay should start.
- Tap Overlay → Add overlay and choose the
-greenscreen.mp4. It is added on a layer above your main video. - Fill the frame: pinch the overlay until it covers the whole preview. If your project and the overlay have the same aspect ratio, it snaps into place.
- With the overlay selected, tap Cutout → Chroma key.
- Drag the color picker circle onto a clean part of the green background.
- Raise Intensity until the green is gone. Go just far enough, too high starts eating into the overlay.
- Raise Shadow slightly to soften the edges if they look jagged.
Chroma key in CapCut on desktop
- Drag the green screen video onto a track above your footage.
- Select it and open Video → Remove BG in the panel on the right.
- Turn on Chroma key, use the picker on the green, then adjust Intensity and Shadow the same way.
Fixing green edges
A thin green outline around text or shapes is the most common problem. Work through these in order:
| Problem | Fix |
|---|---|
| Green fringe around everything | Raise Intensity a little at a time and check the edges zoomed in |
| Jagged or hard edges | Add a bit of Shadow (edge softness) |
| Patches of green left | Pick the color again from a different part of the background |
| Parts of the design vanish | Lower Intensity, or render the overlay with colors that are not green |
| Soft glows look green or dirty | Glows mix with the green background. Choose a template without a big glow, or use the transparent .mov in a desktop editor |
Always check the result on your actual footage and at full screen, not only in the small preview. Edges that look fine on a phone thumbnail can show on a big screen.
Alight Motion
- In your project, tap + → Media and add the green screen video as a layer above your footage.
- Select the layer, go to Effects → Add effect and search for Chroma Key.
- Set the key color to the green and adjust the tolerance and edge settings until the background is gone.
New to Alight Motion? Read how to import Alight Motion presets.
KineMaster
- Add your main video, then add the green screen video as a layer with Layer → Media.
- Select the layer and open Chroma Key in the options on the right.
- Turn it on and adjust the sliders until the green is removed cleanly.
VN and other mobile editors have a similar chroma key option on overlay clips. The steps are always the same: overlay above, pick the green, adjust until clean.
What to put on top of your videos
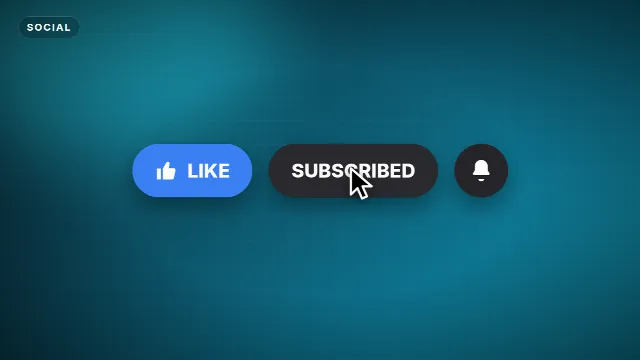
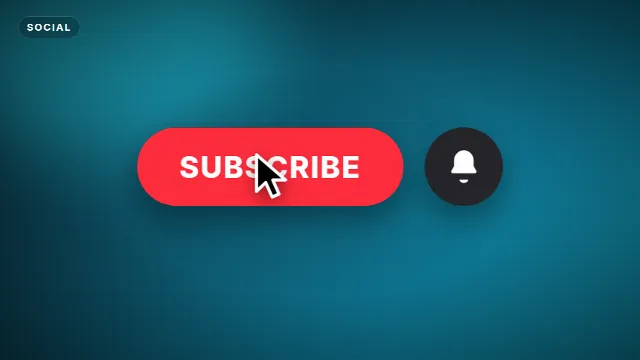
- Subscribe and follow reminders: the YouTube Subscribe Card or TikTok Follow Card, see how to add a subscribe button.
- Hooks and captions for vertical videos: Hook Title Card and Pop Captions.
- Name bars: any of the lower thirds, see how to make a lower third.
- Titles for intros and chapters, like the Chapter Title.
Green screen or transparent?
If you also edit on a computer, the transparent -alpha.mov is the cleaner choice: there is no key to
tune and soft edges stay soft. It works in Premiere Pro, DaVinci Resolve, Final Cut Pro and After Effects, see
how to use transparent video overlays.
On a phone, green screen is the version that works everywhere.
More for mobile editing: CapCut templates, Alight Motion templates, KineMaster templates and how to make a YouTube intro in CapCut.
Frequently asked questions
Edit online
Green screen overlays with your text
Free with a free account, in 16:9, 9:16 or 1:1.
Customize free Originals online and get a green screen .mp4 for CapCut in the download.
Edit online for free